Everything You Need to Know as a Beginner to Texturing and Shading
Learn everything you need to know about texturing and shading as a complete beginner to 3D, from texturing techniques to what software you should use. In this written 3D tutorial, we're covering what you need to know about texturing and shading in an easy-to-understand way. By the end, you'll have a good idea of what the most popular terms and texturing and shading techniques mean.

The Best Texturing Software
The two most popular texturing tools are Substance 3D Painter and Mari. Both are powerful texturing software and are used heavily in the 3D industry. When I worked in the VFX industry I used exclusively Mari, but today nearly all my texturing work is done in Substance 3D Painter. Both are fantastic texturing software and the tool you chose is in a large part down to budget and preference.
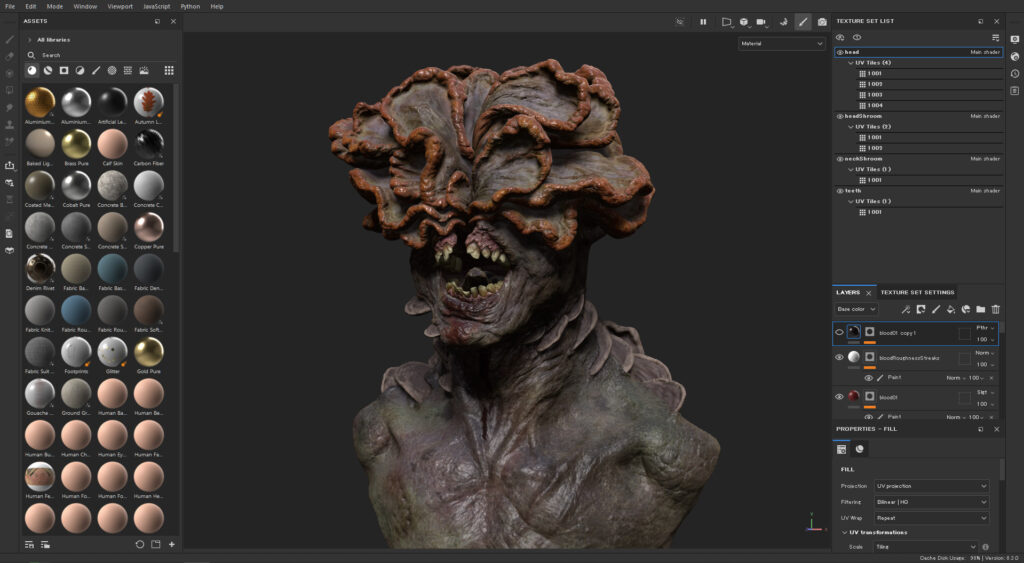
Substance 3D Painter - Texturing Software
Substance 3D Painter is a popular texturing tool in the 3D industry that's built around the physically based rendering (PBR) workflow. It provides real-time feedback, making it easier to create high-quality textures that look great in any lighting condition.
Substance 3D Painter is commonly used by game, VFX, and animation studios to create textures for characters, environments, and props. It works well with other 3D software like Maya and Blender, and game engines like Unreal Engine 5 and Unity.
Mari - Texturing Tool
Mari is a powerful texturing tool used in the 3D industry, commonly by VFX and animation studios to create high-quality textures for complex assets such as creatures, props, and environments. Mari's support for large assets and procedural workflow make it great for handling large-scale texturing projects, and its non-destructive workflow allows artists to work efficiently.
Substance 3D Painter vs Mari
Mari remains the preferred texturing tool in the film industry, while Substance 3D Painter is commonly used in games. Painter also has better procedural tools than Mari, but worse tools for photo projection.
While Substance 3D Painter is layer-based, Mari has both layers and nodes. For large assets, Mari's nodal workflow makes it incredibly fast and flexible. Mari also has much better pipeline tools compared to Substance 3D Painter, such as texture transfer tools between different models, along with generally more control over each pixel. The performance in Mari is also much better for large assets, which is one of the main reasons it's used heavily in the film industry.
Painter is much easier to learn than Mari, and the UI is cleaner and easier to understand. Mari is more feature-rich, and takes longer to learn.
Which one you chose is up to you, but for nearly all texturing work, Substance 3D Painter has all the tools you need.
Texturing Techniques
There are lots of ways to texture, but generally they can be broken down into three main categories: Photo projection, hand painting and procedurals. In reality, you're not going to stick to only one, but instead using a blend of different techniques. You may start off with a procedural base, then projecting photos on top, before finishing the textures with hand painting on top.
Photo Projecting Textures
Projecting photos is a great way to make your textures feel realistic, as you're using the real world as a base. If you have a good photo library, you can quickly texture an asset with the end result looking highly realistic.
| Pros ✅ | Cons❌ |
| Quick to texture if you have a good photo library | Textures will be lacking if the projected photos are bad |
| Easy way to make textures look photo-real since they are photographs of the real world | The photos determine the look of your textures, making it hard to control |
| There are more details and variation in photos than from other techniques | You need to grade and process a large amount of photos |
| Great for photo realism | Bad for stylization |
Hand Painting Texture Maps
Hand painting texture maps is a great way to control the textures fully, as you're completely in charge. This is also a problem, as hand painting requires a great deal of skill, as you're practically digitally painting your maps. Hand painting is a great way to texture stylized assets.
| Pros ✅ | Cons❌ |
| You fully control the look of your maps | Very time consuming to hand paint |
| Great way to make stylized textures | Requires a lot of painting skill to look good |
| Very easy to technically do | The textures can look bland and generic |
| Feels highly creative | Hard to make photo real |
Procedural Texturing
Texturing using procedural approaches is a great way to add a good base to work from, or if you have assets that are too complex to texture using other methods. If you have to texture a spaceship with 2,000 pieces, you are practically forced to procedurally texture it.
| Pros ✅ | Cons❌ |
| Incredibly fast way to texture complex assets | Textures can look generic |
| Quickly add variation to your textures | Can be difficult to get a specific look |
| Easy way to create a texture base | More technical than other approaches |
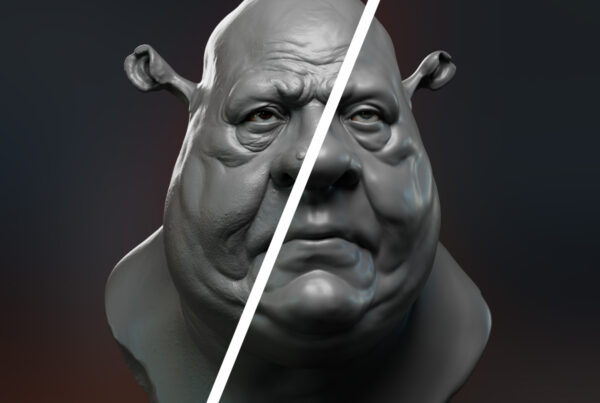
PBR Shading
PBR stands for Physically Based Rendering, a method used to create realistic materials and textures. PBR is useful for texturing because it provides a standard workflow for creating and rendering materials that look realistic in different lighting scenarios.
Before PBR, creating textures and materials involved manually adjusting the material for each shot. PBR uses a physically accurate model of how light works to create materials that looks good in any lighting scenario.
PBR textures are created using physically accurate maps such as roughness, metallic, and albedo. These define how light interacts with the material and can be used to create a wide range of materials, from shiny metals to matte surfaces like wood or fabric.
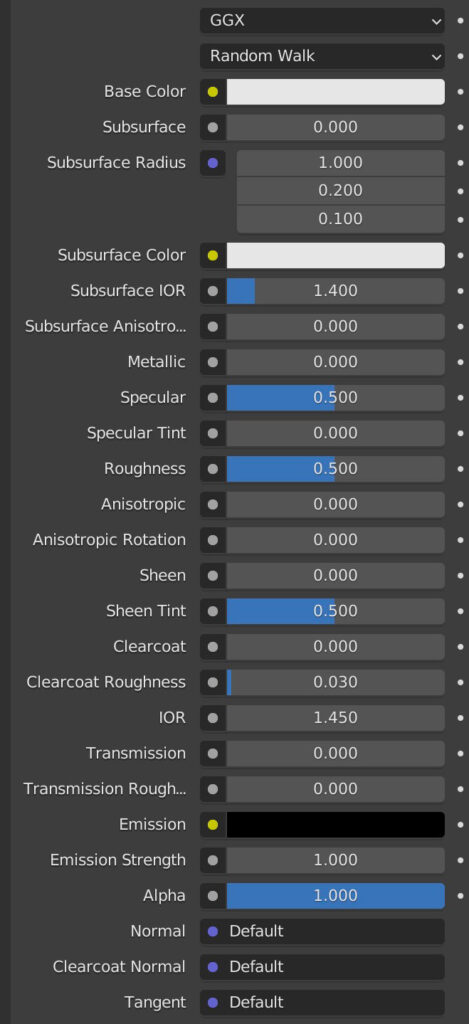
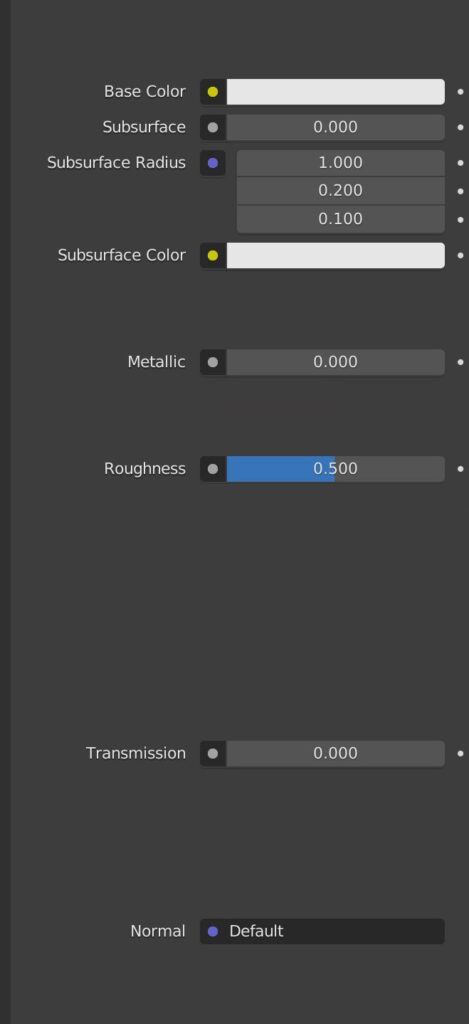
Simplifying the Materials
Materials in 3D software look intimidating with all their dials and values, but you can ignore most of them in the majority of cases. The screenshot below is from Blender but nearly all materials in modern 3D software will look the same.
Albedo Shading
Albedo is the color of an object without lighting or shading. If you take a photo of an object and color-pick it in Photoshop, you might assume that this color is the Albedo and it's the color you should use when texturing. The issue with doing this is that the picked color is not accurate.
On top of the albedo, you have lighting from the environment and lamps, reflections and sometimes subsurface scattering (sss). By simply color picking, you're getting a color that's influenced by all the other factors.
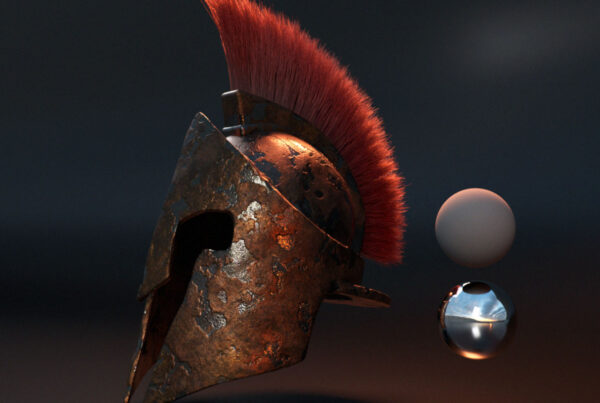
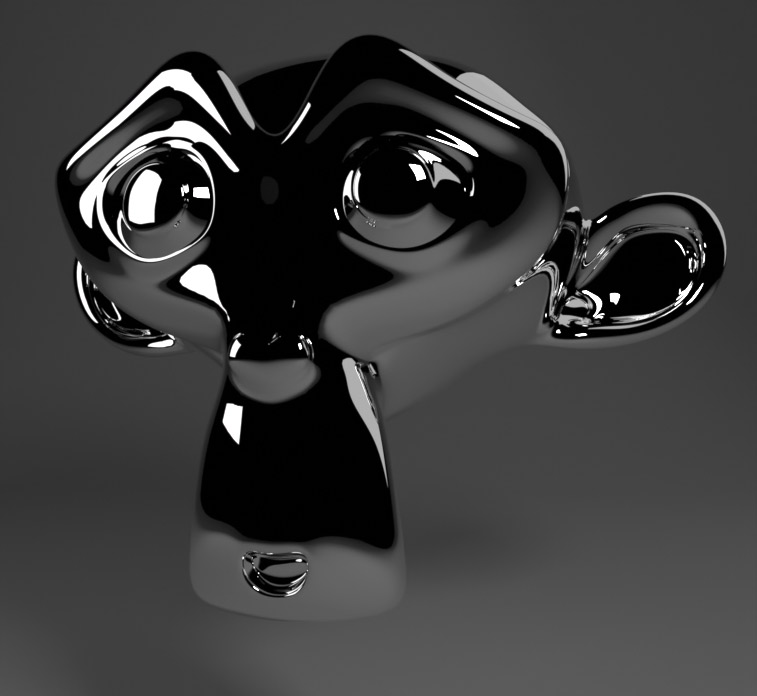
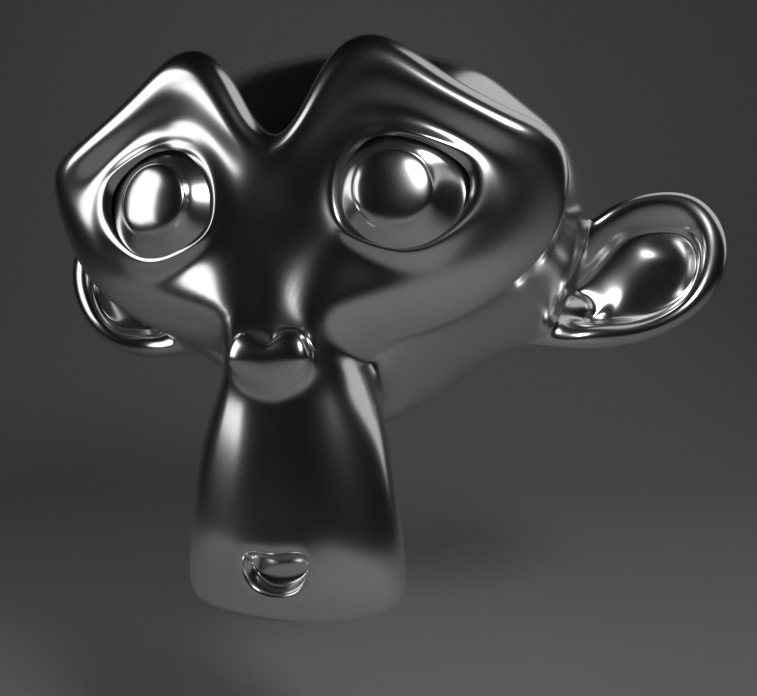
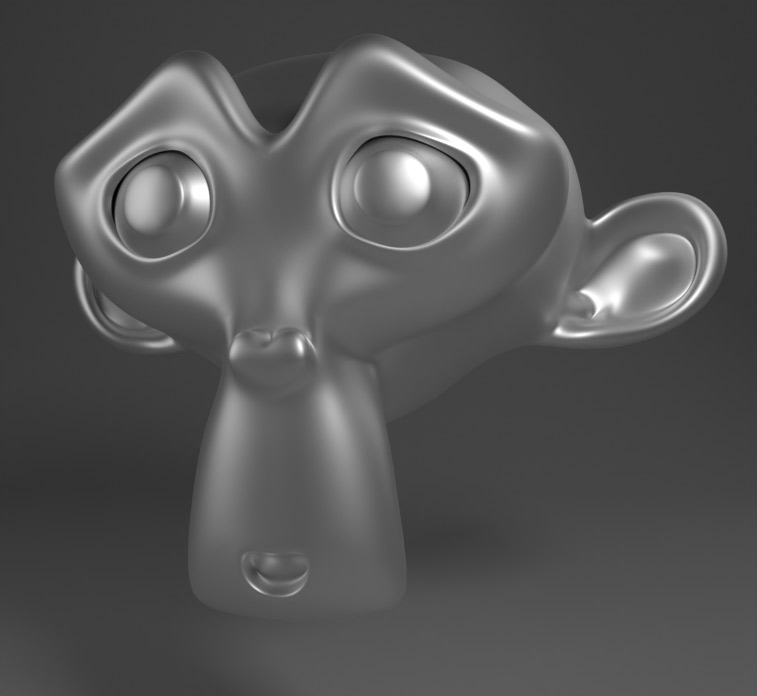
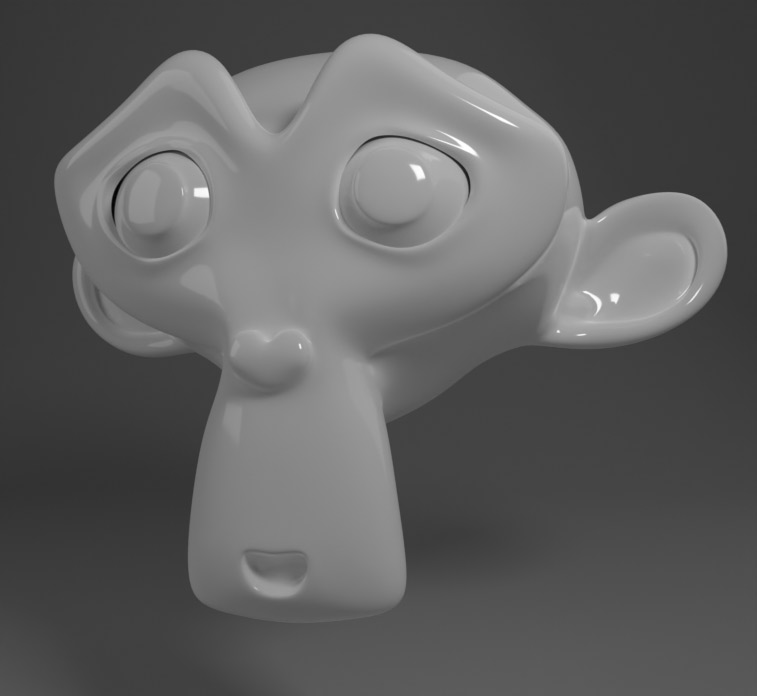
Roughness Shading
The roughness determines how shiny an object is. To get the terminology right:
Smooth = Shiny
Rough = Matte
A rough surface reflects light in many directions making it seem matte, like a rock, while a smooth surface reflects light in a concentrated way, making the material shiny, like a mirror. Roughness maps are greyscale with values between 0.0 and 1.0, where black makes the material smooth (shiny) and white makes it rough (matte).
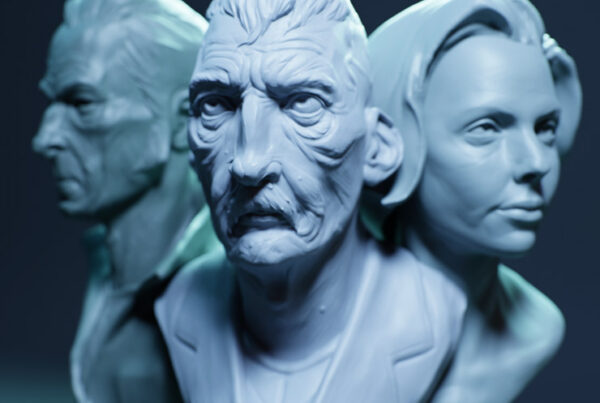
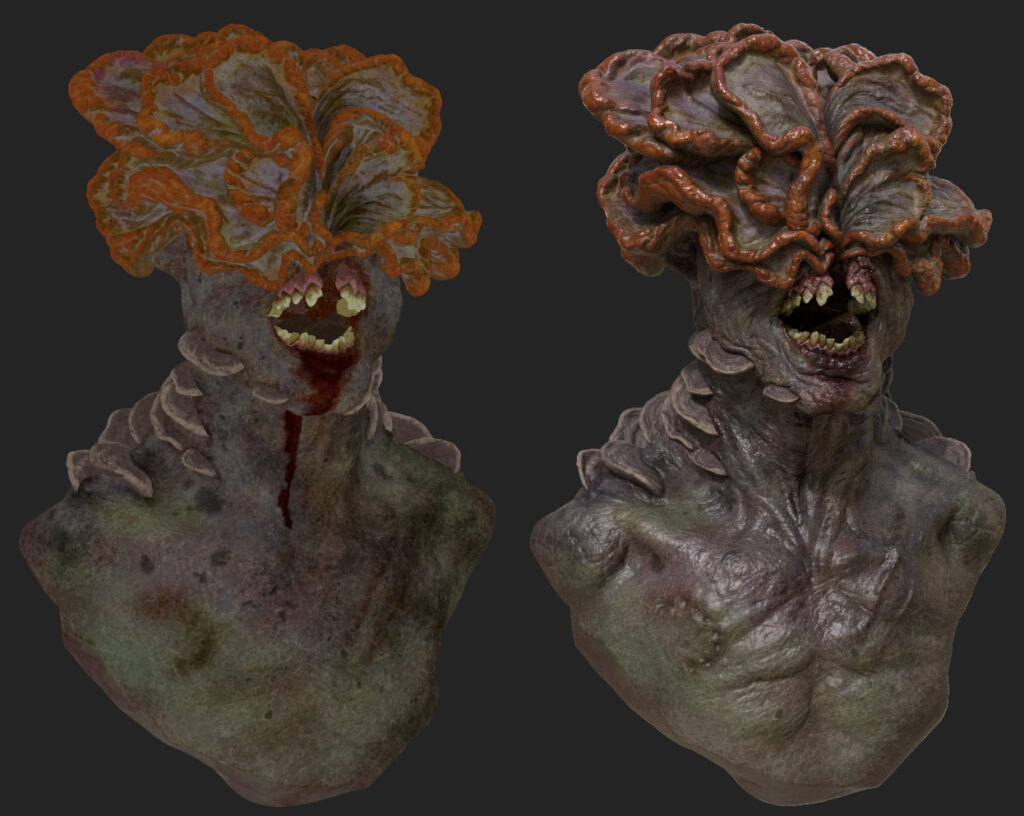
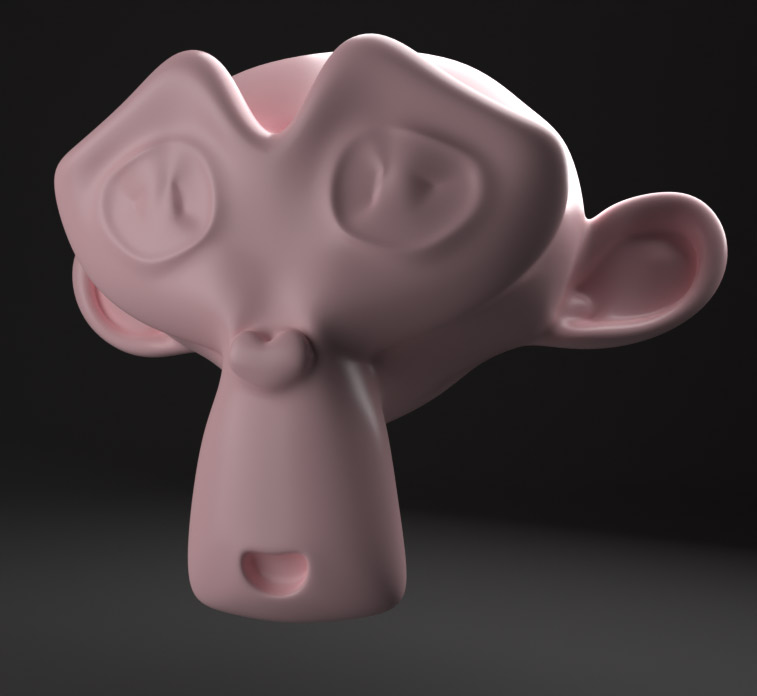
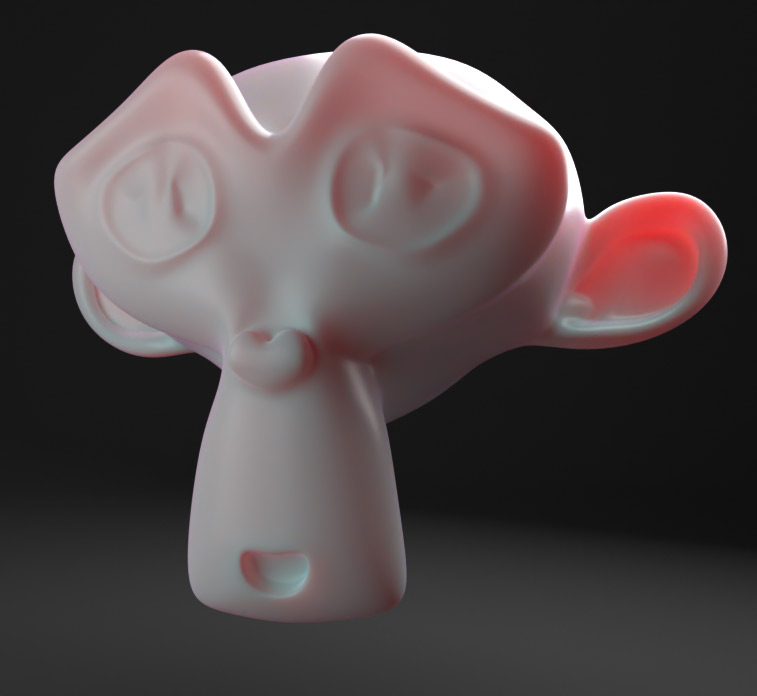
Subsurface Scattering (SSS) Shading
Subsurface Scattering or SSS, is used for skin, wax, leaves and other materials where light goes into the object, scatters and exits the material again. It's what makes your ears red in sunlight. When texturing and shading characters, it's really important to understand how SSS works. If the SSS is too strong, the character will look like wax, and if it too weak, it will look like stone.
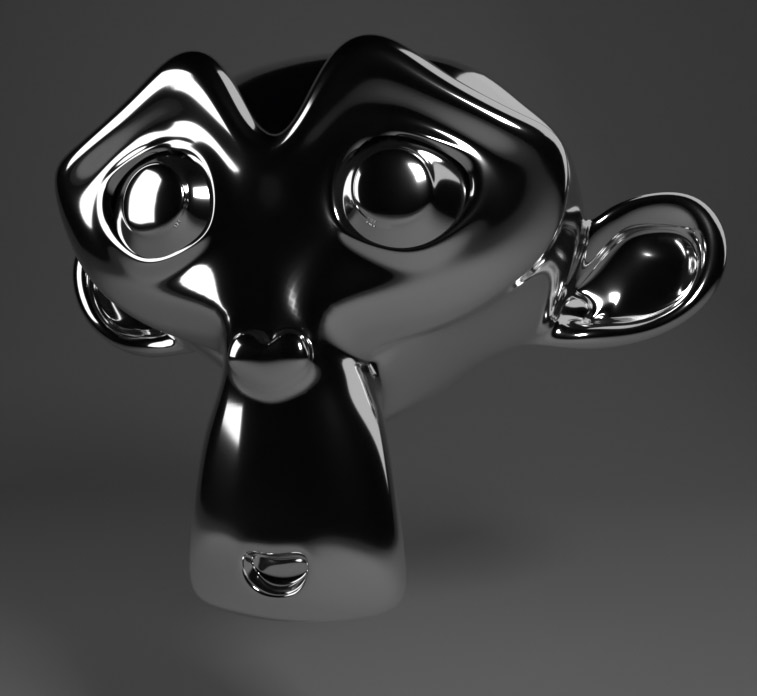
Metallic Shading
Metallic is easy to understand: Is the material made of metal or not? You adjust the metallic amount using a slider from 0.0 to 1.0, where most objects should be either at exactly 0.0 or 1.0 with nothing in between. While this sounds simple, you have to think about it when texturing and shading: An iron bar is metallic, but if it's rusted or painted, it's no longer metallic. Only actual metals without any cover should be defined as metallic.
Transmission Shading
Transmission is a fancy way of saying: How transparent is the object? You use transmission to create materials that are transparent or translucent, such as glass, water, or gemstones.
Final Words About Texturing and Shading
Texturing and shading are essential skills for any 3D artist. As a beginner to 3D, it can be overwhelming to choose the right software and technique, but understanding the differences between tools such as Substance 3D Painter and Mari, and techniques such as photo projection, hand painting, and procedurals, will help you become a great texture artist.
With practice and experimentation, you can develop your skills and create stunning 3D models with textures and materials that bring them to life.