How to Find Ideas for Your Tutorial Series
Learn how to create effective tutorial series for artist in this series of articles. Let's explore the first challenge: Finding ideas!
To come up with ideas for your tutorials, speak with artists and find out what challenges they're facing. Think about the problems you had when you were learning, and come up with ways to solve them. Once you have a list of ideas, refine them and pitch them to people you trust to provide honest feedback. You could even put together a chapter list and ask for feedback on that.
Accept that your initial ideas won't perfect, and that's okay. By getting feedback from people you trust and potential customers, you can make your tutorial even better before you start recording.
It all comes down to identifying real-world problems and creating solutions that people are ready to pay for.
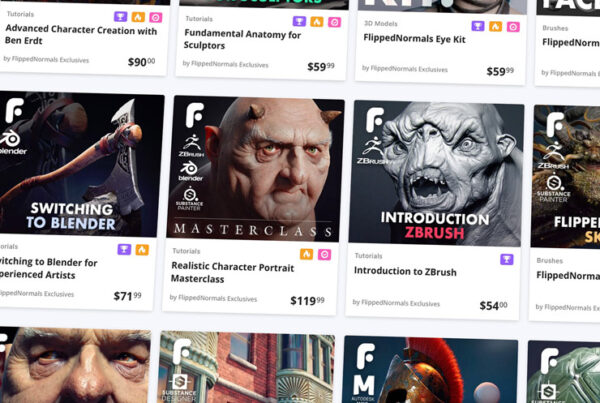
Sell Your Product on FlippedNormals
Join FlippedNormals as a Creator and sell your products to a global audience of artists. Showcase your products and earn money easily with our user-friendly platform.
You'll enjoy competitive commission rates, global payouts, and world-class support from our team. Whether you're a beginner or a veteran at selling products, FlippedNormals is the perfect place to grow your business. Sign up today and turn your passion for 3D into a profitable career.
Tutorial Checklist
To make sure you've covered all your bases, ask yourself the following:
- Who is the target audience for my tutorial series?
- What software will I be using in my tutorials?
- Am I focusing on a Basic or Fundamental skill?
- How long should my tutorial series be?
- How will I get feedback on my tutorial?
Set the Skill Level
Before starting your tutorial series, it's essential to determine the skill level needed for your tutorial. Teaching a complete beginner requires a completely different approach than teaching an advanced artist. By clearly defining your target audience, you can create a focused tutorial that meets their needs.
If you fail to consider skill level, you risk creating a mix of content that might be too advanced for beginners to follow while simultaneously spending a lot of time on software basics that advanced users already know. This can lead to frustration for beginners and bore advanced artists who feel like their time is being wasted.
Beginner
0 - 12 months experience. Assume that the artist doesn't know the software or topic. Explain every step in real-time with clear narration, working at a slow pace to ensure that all hotkeys and UI clicks are properly demonstrated. Focus on the specific steps and avoid going too much into the "why". The end product should be simple and easy to recreate.
Example of a Beginner Tutorial Series
Intermediate
1-2 years experience. For artists who are familiar with the software or topic and have created their own projects, but struggle with workflow structure and completing projects. The tutorial should provide a streamlined process that's still challenging. Narrate all steps in real-time but focus more on the "why", rather than specific buttons.
The goal is to help the artist develop a deeper understanding of the software and how to use it effectively, while also addressing their workflow issues.
Example of an Intermediate Tutorial Series
Trailer from Creating a Full Character in ZBrush, for Intermediate artists
Advanced
3+ years experience. For artists with extensive software experience and a history of completed projects. Tthe tutorial should focus primarily on the "why" behind your workflow and techniques, rather than specific button presses.
You should teach your honest workflow without compromising for the sake of streamlining the tutorial.
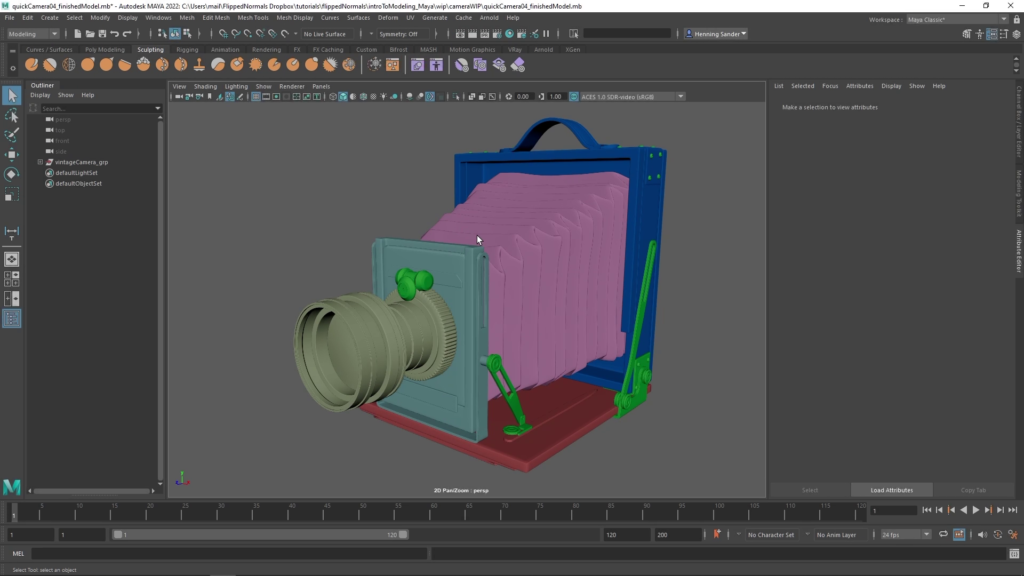
Example of an Advanced Tutorial Series
The Skill Range
The target audience is essentailly between two extremes:
- Complete beginners with no knowledge at all
- Experts who know the topic inside and out
Find your spot in this range and make a tutorial for people at this level.
Create an Incredible End Result
By making the end result look amazing, you'll not only sell significantly more copies, but the students will also be far more motivated to finish the tutorial series. Learning is hard, but if the payoff is rewarding, you'll be far more likely to finish the tutorial series.
Finalize the end result before you start recording. It's much easier to structure the tutorial this way, and you'll have a clear goal in each video. It's hard to experiment while recording, and the final result usually suffers.
Marketing your tutorial is also much easier if you put effort into the final result. A pretty picture is an easy way to catch the viewer's attention, as you only have a few moments before they move onto the next product.
Avoid Timelapses At All Cost
Timelapses suck and customers don't like them. This is extremely clear after having made tutorials for a decade. Timelapses are usually created in an effort to save the students time, but this misses an important truth: The student wants to understand everything. By timelapsing your videos, a large amount of steps are skipped and it becomes much harder to follow. We have completely removed timelapses from our FlippedNormals Exclusives and now instead show the process in real-time.
Sometimes it's much harder to work and narrate at the same time. In this case, split the recording into two parts:
- Working
- Narrating
For tasks where you have to think, like designing, this is often the best way approach. Thinking and talking at the same time is extremely hard. The important part is to not timelapse the working video. Simply narrate on top in real time. We recommend against this technique though, if the tutorial is for beginners.
It happens that there's a lot of reptitive steps and it's tempted to timelapse this. Instead, we recommend that you split the chapter into two videos: Video 1 is showing the technique in real-time with narration, and Video 2 is you doing the task for as long as it takes, without narration. There's no need to narrate everything if it's the same work over and over again.
Sometimes it’s impossible to work and speak at the same time and then we recommend that you do the work and narrate on top, but without time lapsing it. It's usually a lot easier to design when it's voice overs.
If a topic is boring, they can always skip ahead or speed up the footage themselves (bracket-keys in VLC, life-safer).
Never Add Music to your Tutorials
Like with timelapses, students hate music in tutorials. It's tempting to add music to make boring parts more interesting or to increase the vibe. Yet people hate music in tutorials nevertheless. Some parts of a tutorial are simply boring. Certain topics are inherently dry, though important, and some stages are repetitive. Music won't change this.
Music Creates Issues
- Students can't listen to their own music or speed up the video.
- Rewatching parts of a video is annoying
- They could dislike your music
- You'll probably breach Copyright laws
Each Chapter Should Be Focused
The student's time is valuable and you'll need to respect that. Get straight to the point and you'll be rewarded with a thousand 5-star ratings ⭐️⭐️⭐️⭐️⭐️
Every chapter should have a precise focus, that must be made clear right away. If the video is about lighting, don't spend 20 minutes building a scene, then spending 5 minutes on the lighting itself. Instead, build the scene off-camera and start recording once done. You'll now have a clear 5-minute video on only lighting. Straight to the point, has less editing, easy to rewatch. Everyone is happy.
This doesn't mean that the videos have to be dry or boring. Instead, it means that you shouldn't waste their time.
Prepare Scene Files
Preparing scene files before recording makes the whole series much better. It gives you a chance to properly think through the structure of the video and to experiment before the recording. By supplying your scene files, the students can also follow along, and you're not wasting time building the scene in the video.
While it's more of an upfront investment, you get this time back by making your editing process much easier, as well as getting practice before recording.
Basics Vs Fundamentals
Are you teaching specific technical skills or a deeper understanding of the topic? Both are important, are hard to teach at the same time. Another way to put it is, are you teaching them How to do something, or Why?
If this is unclear, your tutorial will lack focus.
Basics
Basics are technical skills that can be followed step by step. Learning how to use Blender and how to UV map a chair are both Basics, they are both about the How. If you're stuck with a Basic, you can usually find the results on the first page of Google. Beginner tutorials should focus almost entirely on the basics.
Fundamentals
Fundamentals are timeless principles: figure sculpting, physics of light, color theory and character design. Fundamentals are harder to learn, and it's impossible to Google your way out of bad fundamentals. No matter how well you know ZBrush, you will never be able to sculpt an appealing character without a good understanding of figure sculpting. Advanced tutorials should be nearly entirely about fundamentals.
How to Handle Mistakes
Accept that you'll make mistakes while recording and find a system for dealing with them. Sometimes, it's helpful to include your mistakes, and other times you'll need to remove them in the edit. At the core, include mistakes if it's helpful to show how to avoid or solve them. If you made a mistake, there's a chance the student will make the same one.
Sometimes the mistakes are simply dumb and should be cut away. If the mistake happened because you were sloppy, you misspoke or pressed the wrong hotkey, remove it in Edit.
Never Experiment While Recording
If you experiment while recording, you'll mess it up and you'll need to fix it while editing. Always experiment before recording instead.
Custom UI and Hotkeys
Stick with the default version of the software as much as possible. If you need to customize the UI or hotkeys, provide your custom setup. Include a video on how to use your setup and why it’s better than the default version.
By customizing the UI and hotkeys, you're potentially making it harder to follow the tutorial.
Once The Tutorial is Done
Make an Intro-Video
Make an additional video covering the structure of the tutorial and talk about the different chapters and show the end result. This gives the students a clear idea of what to expect. You can also release this video for free and use it as a trailer once your product is live on FlippedNormals.
PDF
Clean up your notes and include them as a PDF.
To Sum Up!
Get ideas for tutorials by talking to artists about what issues they are having, or by thinking back on your own journey. Make the end result as appealing as you reasonably can. Prepare scene files and keep your videos highly focused on a specific topic.
Avoid music. Avoid timelapses. Avoid customizing your software to death. Never experiment during a video.
I sincerely hope this guide helps you create incredible tutorials! If you do, we'd love to have them on FlippedNormals. Become a Creator and sell your own tutorials.
You can join FlippedNormals here:
Open a Store on FlippedNormals