Get Started with Making Video Tutorials
In this tutorial, you'll learn about the best software and equipment for making video tutorials. This tutorial focuses on making paid courses, but nearly everything is also for making YouTube videos.
This article as a video👇
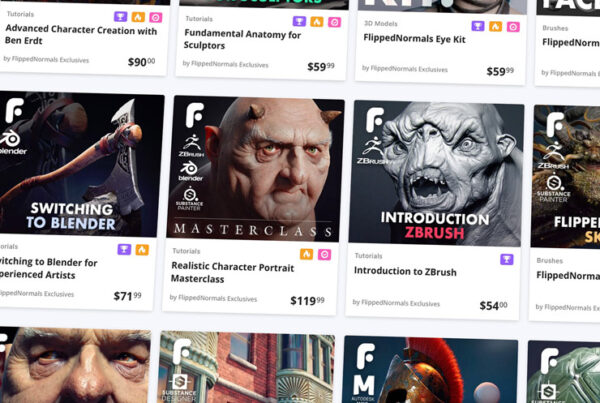
Sell Your Product on FlippedNormals
Join FlippedNormals as a Creator and sell your products to a global audience of artists. Showcase your products and earn money easily with our user-friendly platform.
You'll enjoy competitive commission rates, global payouts, and world-class support from our team. Whether you're a beginner or a veteran at selling products, FlippedNormals is the perfect place to grow your business. Sign up today and turn your passion for 3D into a profitable career.
Microphones
Good audio is essential for a good video, and is arguably more important than the visuals. If you want to make video tutorials, you'll need to invest in a good microphone. Luckily, microphones have got cheap and great, and there are good microphones for every budget.
There are two kinds of microphones: Digital USB and analog XLR mics. We recommend getting a USB microphone, as they are easier to use and can be plugged directly into your computer. XLR mics needs additional hardware to connect to your computer. If you're building a high-end professional audio studio, XLR is the way to go, but for making tutorials, you want to keep audio as simple as possible. All the micrphones listed below are USB microphones.
Ever Expanding Microphone Market
Over the last decade, streaming and YouTube has exploded, and has resulted in USB microhones becoming cheaper and better than ever. The field is ever-changing and the list below is just a small example of microphones available. Make sure to do your own research on microphones.
Audio equipment can get extremely expensive if you're not careful. When deciding on a budget, make sure it covers the microphone as well as all additional equipment, like a boom arm, cables and a pop filter.
Different Microphones for Recording Tutorials
Blue Snowball - $70
The Blue Snowball is a great starting microphone. The sound is good, and it's a great microphone for your first video tutorials. It comes with a stand. Though if you're serious about about making video tutorials, it's probably best to look for a more expensive option right away.
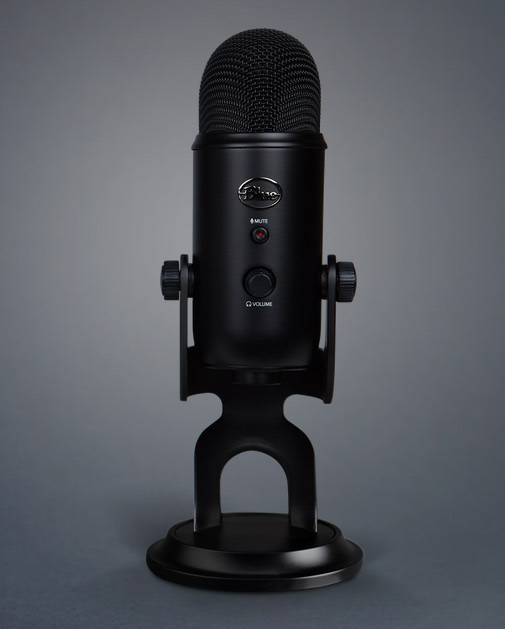
Blue Yeti - $150
The Blue Yeti is a very popular microphone for making video tutorials. It's affordable and the audio quality is great. Though over the last couple of years this mic has got a lot of competition. Comes with a stand.
Røde Pocaster - $200
The Røde Podcaster is a fantastic medium-end microphone. If you're serious about recordings, this is a great balance between quality and budget. This is the microphone I've personally been using for the last 3 years and I'm very happy with it. The Podcaster doens't come with a stand.
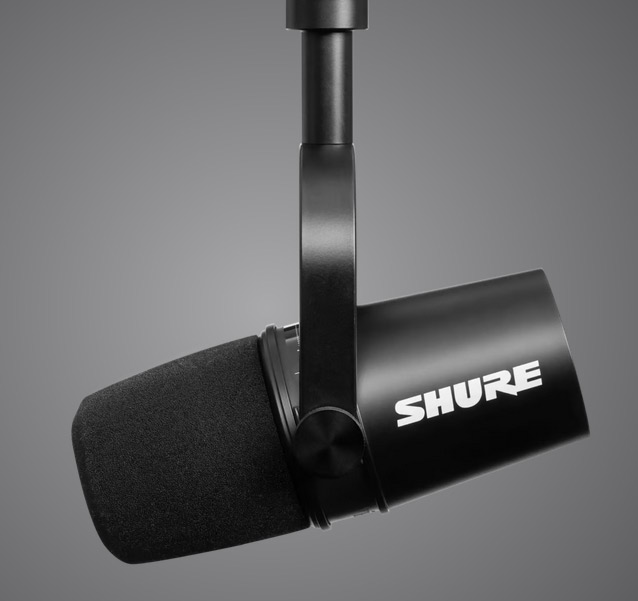
Shure MV7 - $350
The Shure MV7 is a high-end microphone for podcasts and video recording, and is a great choice if you are serious about making video tutorials. Doens't come with a stand.
Additional Microphone Equipment
Once you've decided on a microphone, you'll need a few extra pieces of equipment.
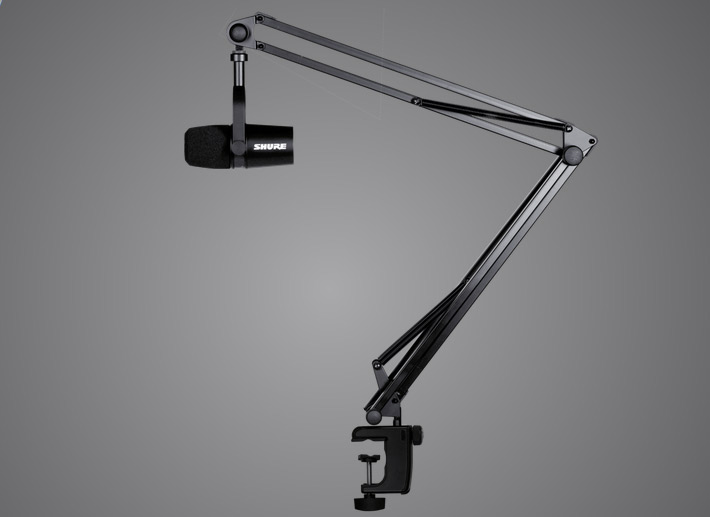
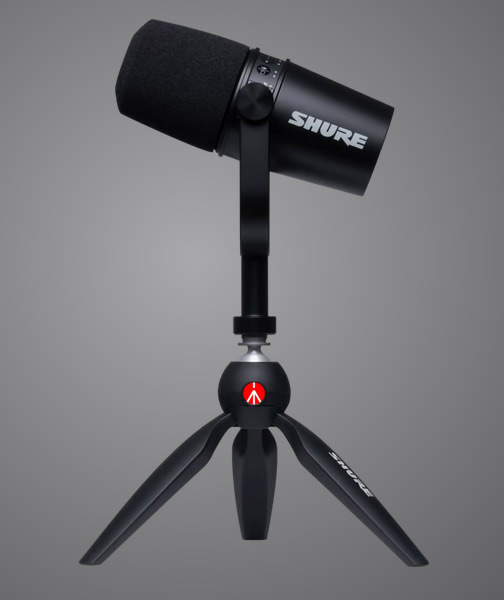
Microphone Stand or Boom Arm
You'll need either a stand or a boom arm to keep your microphone upright and near your mouth. A boom arm will keep it closer to your mouth without taking up space near you, but takes up more desk space overall. A stand is practical as the mic is sitting on your desk, but it's easy to accidentally hit it, causing audio issues. If your budget and desk space allows, a boom arm is highly recommended.
Pop Filter
A pop filter is a foam filter around your microhone which reduces plosives (popping sounds) when you're speaking. A pop filter is essential when recording, as there will be far too many issues with the recording otherwise. If you dont have access to a commercial pop filter, put a few socks over the microphone (for real, it works).

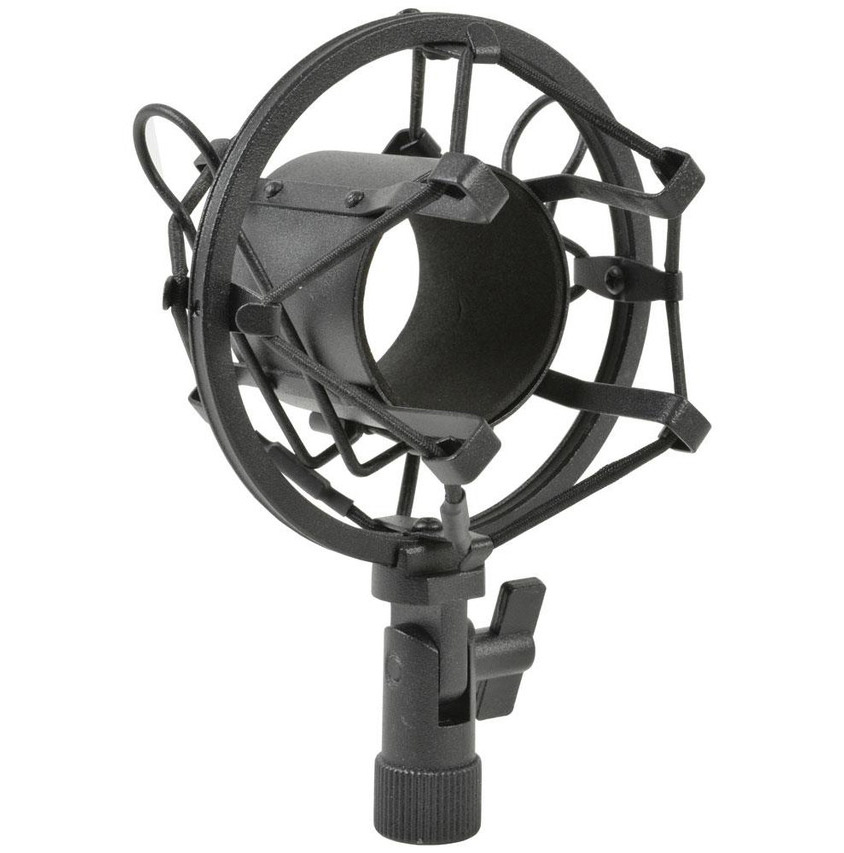
Shock Mount
If you accidentally hit the microphone or your desk during a recording, a shock mount will drastically reduce the impact on the recordings. We recommend getting a shock mount, but it's not essential. Recording equipment gets expensive fast. If your microphone is on a stand, placing something soft underneath could also help reduce shock, though not as well as a shockmount.
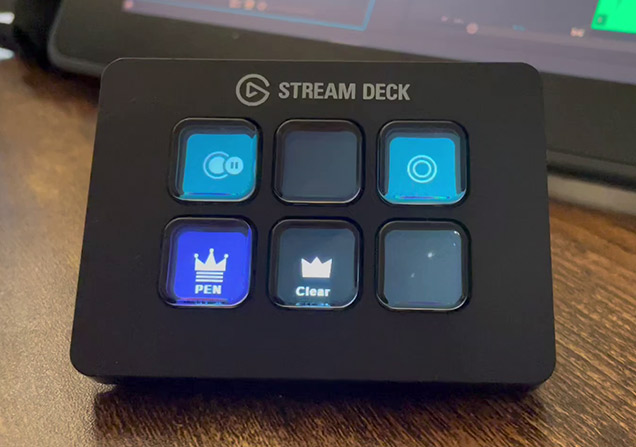
Stream Deck Mini - $80
The Stream Deck Mini is useful but highly optional. It allows you to put software shortcuts on real-world buttons. This is extremely useful for starting, pausing and stopping your recordings, and for tools like Epic Pen used for drawing on top of your screen. I'm using the Stream Deck Mini which has 6 buttons, but if you need more buttons, you can get much larger versions.
Screen Recording Software
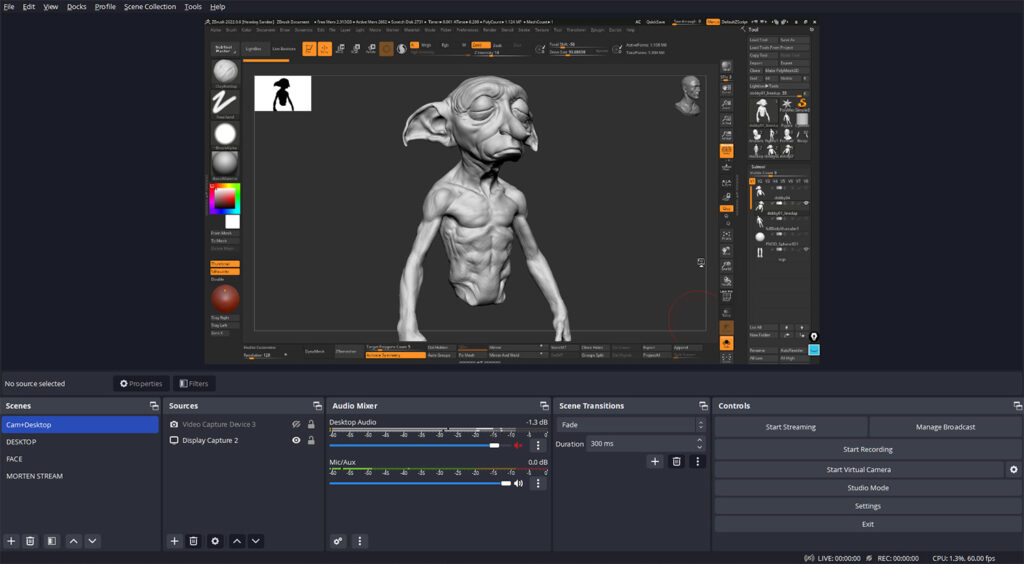
OBS Studio
While there are lots of screen recording software, our favorite is OBS Studio. It's completely free and has all the features you need. Being able to pause recordings is particularly useful.
Camtasia
Camtasia is a popular paid screen recording software suite. The advantage of Camtasia is that you have all the tools in one place, from screen recording, video and audio editing. This is great for people new to video editing and recording, as the tools are simple to use. I personally find Camtasia too limited and I prefer the control I have with OBS Studio and DaVinci Resolve. Try out both Camtasia and OBS and see which one you like.
Drawing on the Screen
Being able to draw directly on top of your screen is essential for good videos. The best tool we've found is Epic Pen. It comes in a basic free version, and a paid version with a lot more features. The only tool we use from the paid version is the option to use different colors, and if that's not important to you, the free version is fine.
I've added the Epic Pen hoteys to my Stream Deck, making drawing on the screen fast and easy.
Key Strokes Software
When making video tutorials, it's important that the keys you press are being displayed. There's a suprising lack of mature software for this, but our favorite is KeyPress OSD. If you're working in Blender you can also use VuR which is a free addon.
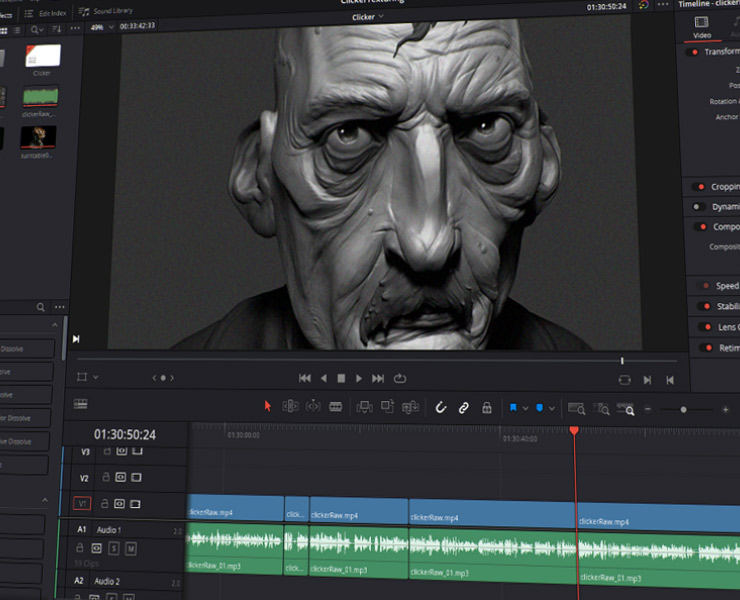
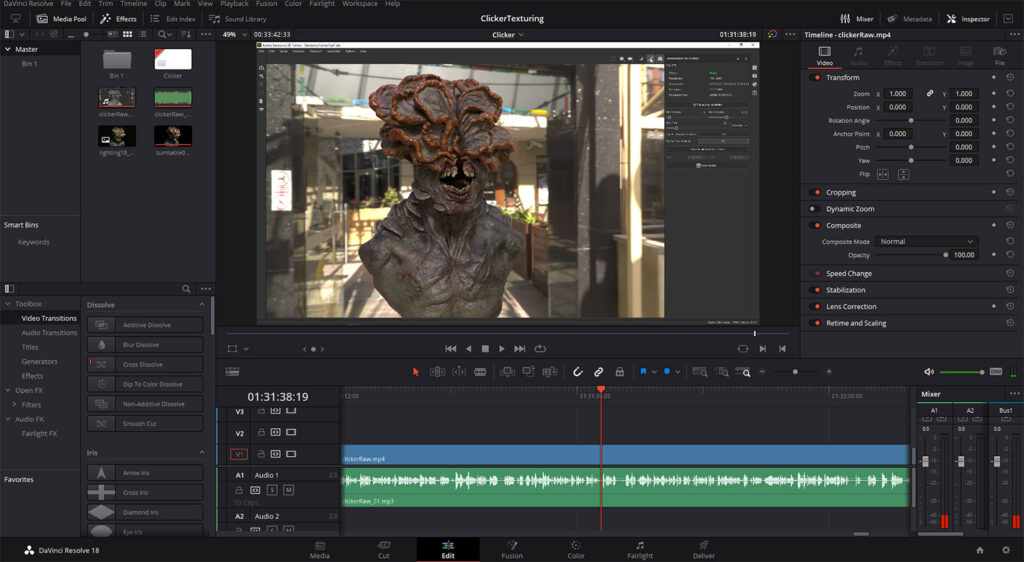
Video Editing Software
For video editing, we highly recommend DaVinci Resolve. It has a free version which has all the features you'd ever need for editing tutorials. If you need the paid version it's around $300, though we still haven't needed the paid version.
We've spent years edting videos in Premiere Pro, but have recently switched to DaVinci Resolve, and it's sped up editing significantly for us. Performance in DaVinci Resolve is much better than in Premiere Pro, and the overall editing workflow feels modern and efficient.
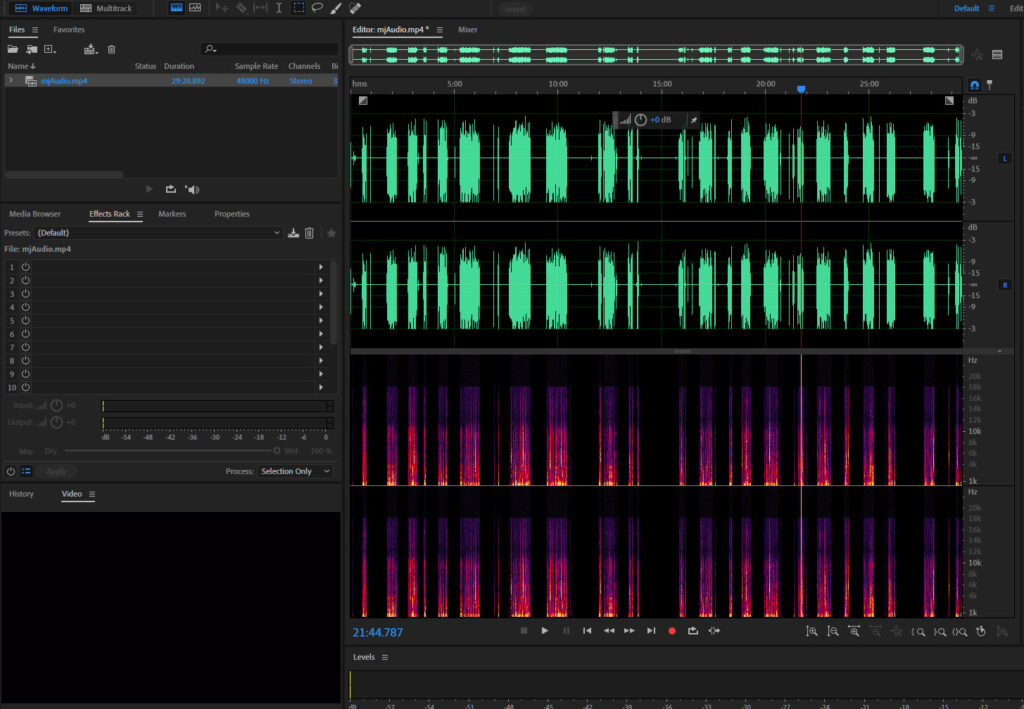
Audio Software
You'll most likely need to edit the audio for your recordings, if only to adjust the dB to be consistent and loud enough. We are currently using Adobe Audition for this, but you can also do this directly in DaVinci Resolve or using a free tool like Audacity. As long as you have a good microphone and a quiet environment to record in, you shouldn't need to do much with the audio files.
Pro Tip: Normalize your audio to -3 dB. Most likely your dB level is far too low, and you'll need to boost it.
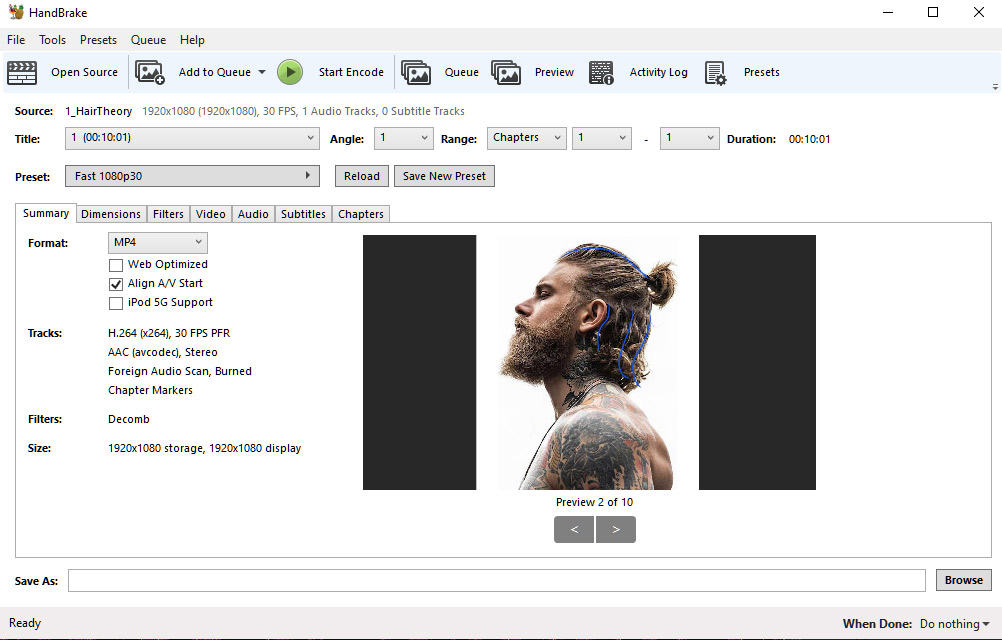
Video Compression Software
Videos exported from DaVinci Resolve or Premiere Pro can be massive. The last step before you finish your videos is to compress them using HandBrake. This magical tool will drastically reduce the file size of your videos while preserving the quality.
This makes it both easy to upload your tutorials on FlippedNormals and for customers to download the product.
Not everyone will have an amazing internet connection. Optimizing the video files will make customers with an unstable or slow internet connection happy.
Become a FlippedNormals Creator
If you're interested in making tutorials, or you're already making them, become a Creator on FlippedNormals and sell your tutorials!
You can join FlippedNormals here:
Open a Store on FlippedNormals