
Texture Realistic 3D Characters in Substance Painter
In this 3D tutorial we're covering how to texture realistic 3D character in Substance Painter, in this case a Clicker from the TV series 'The Last of Us'. We're combining a series of simple and powerful techniques to create an advanced 3D character using ZBrush, Substance Painter and Blender.
Texturing a Clicker on YouTube
Check out the video below if you want this article as a video!
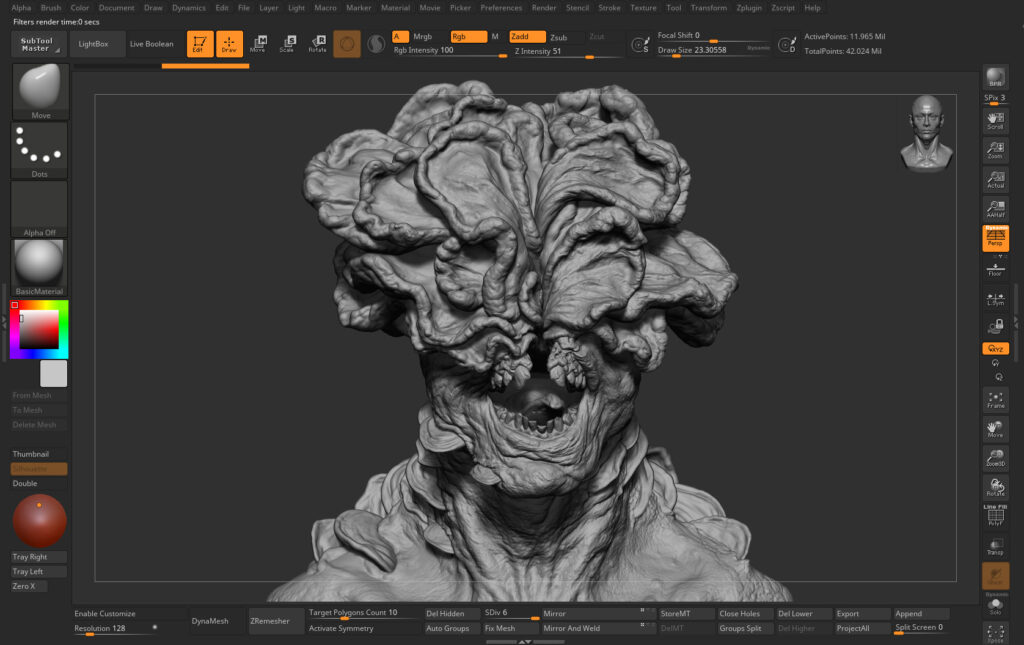
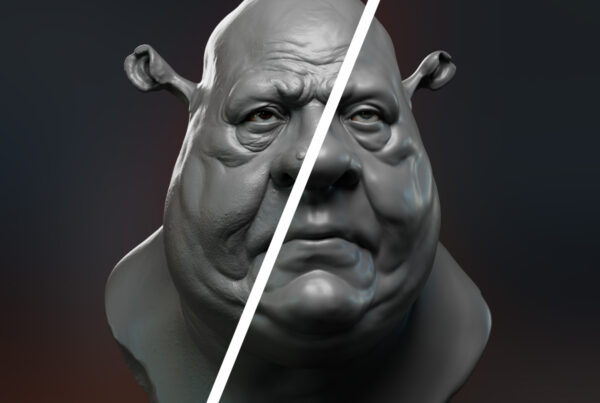
The ZBrush Sculpt is King
The ZBrush sculpt is the foundation for good texturing for characters. If you rush the sculpting, you will have to compensate by over-texturing later on, and the result will never be as good. By taking the ZBrush sculpting seriously, you're helping your texturing in many important ways:
- Variety and breakup is added without having to push the textures to their breaking point.
- Tileable maps are much more forgiving, as the sculpting will break up the tiled look.
- Roughness and SSS amount maps require a lot less work to look great and can often consist of simple gradients.
- Baked maps will be much more detailed, adding more variety every time you use curvature, ambient occlusion or cavity maps.
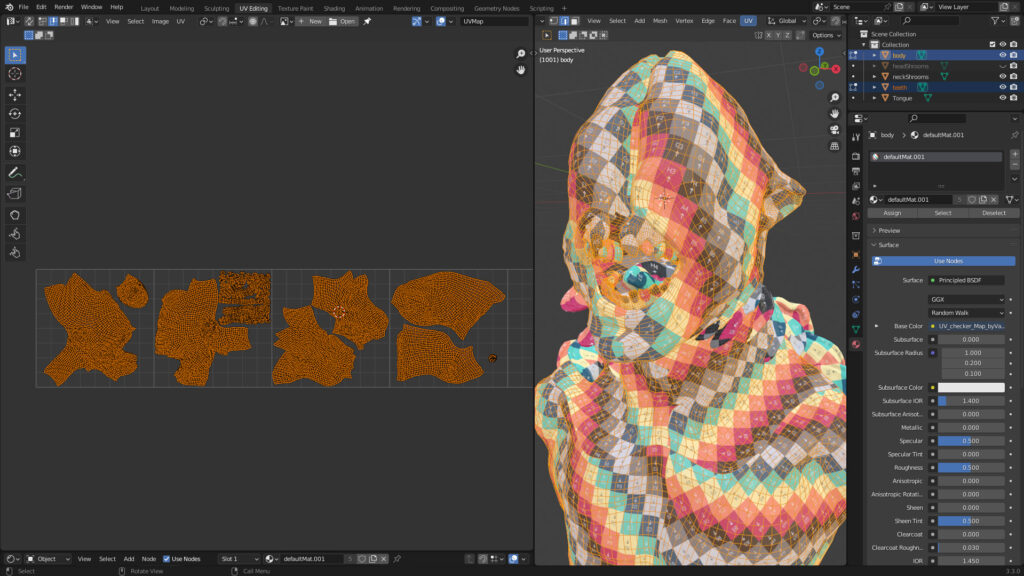
UV Mapping and Texture Sets
Plan how your Texture Sets in Substance Painter will be set up when you're UV mapping your character. If your Texture Sets are messy and objects are across multiple sets, texturing becomes much harder than it has to be. As you're laying out your UVs, put models you want to be in the same texture set in the same UDIM range. These are the texture sets we end up with:
- Head and Tongue
- Head Mushrooms
- Neck Mushrooms
- Teeth
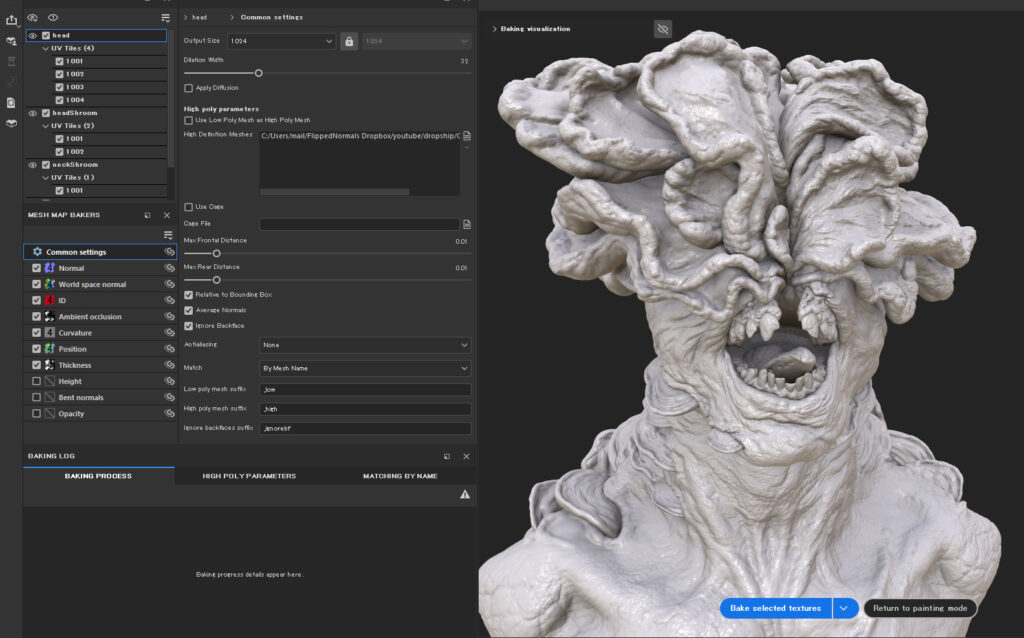
Start by Baking Maps
Baking maps will speed up your texturing significantly, as you can now create a procedural foundation based on the baked maps. In ZBrush, decimated each subtool at a high and a low level. The decimated models are then imported into Blender, where they are merged according to the Texture Sets. The high-res models are added to a high-res Collection, and the low-res models to a low-res Collection. They are assigned colorful materials, a '_low' and '_high' suffix and then exported as .fbx.
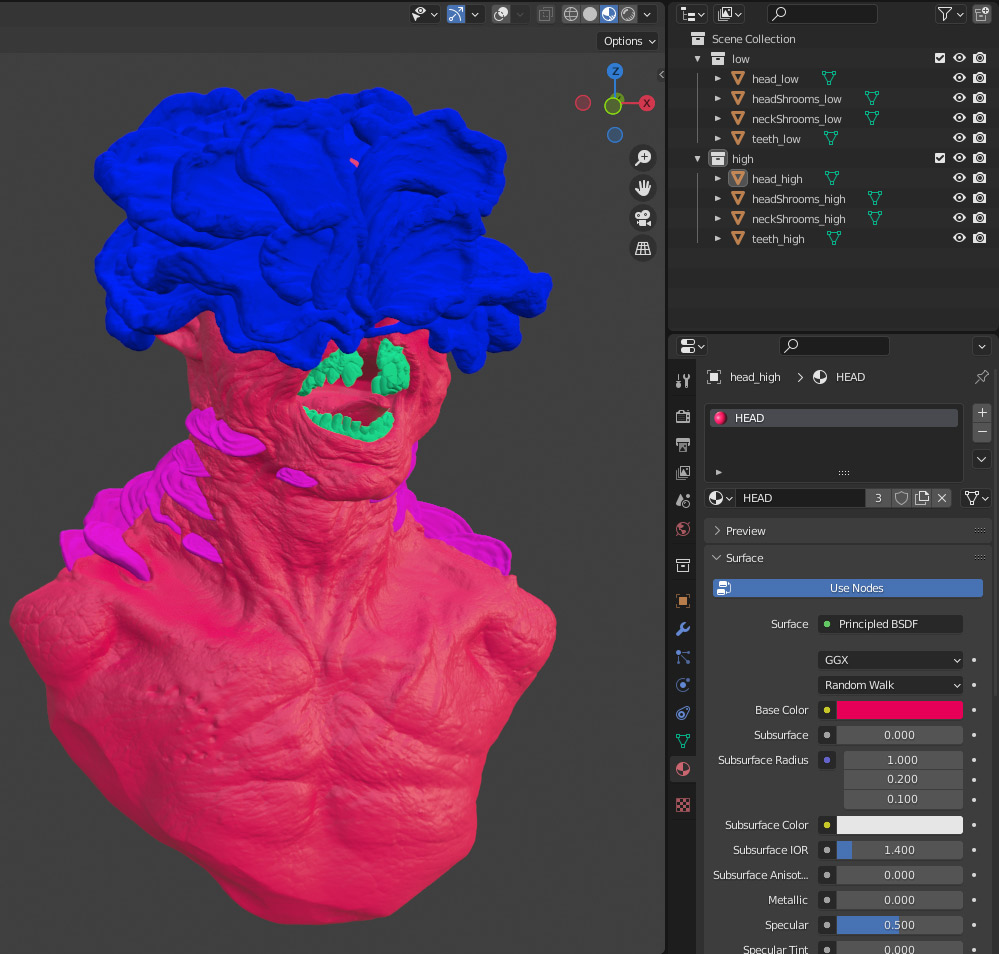
In Painter, the low-res FBX file is used as the main texturing mesh and the high-res is used as the high-res baking mesh. Bake the maps based on Mesh Names to get clean bakes.
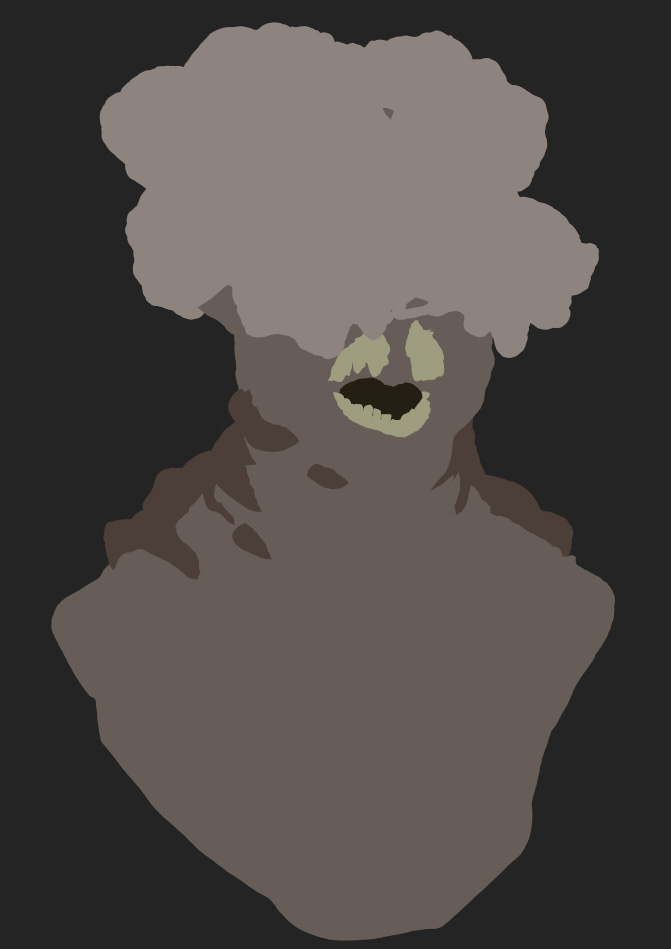
Block Out Textures with Fill Layers
The texturing workflow I'm using is based around using Fill Layers with masks. This is a powerful and flexible way of working as you can easily change the colors and values of the Fill Layer later. It's also a simple workflow,painting is fast and going back to your files later on is easy.
I prefer to add Fill Layers to all my Texture Sets, giving them a flat base color. This color is highly specific and is usually color picked from reference. You can always change it later.
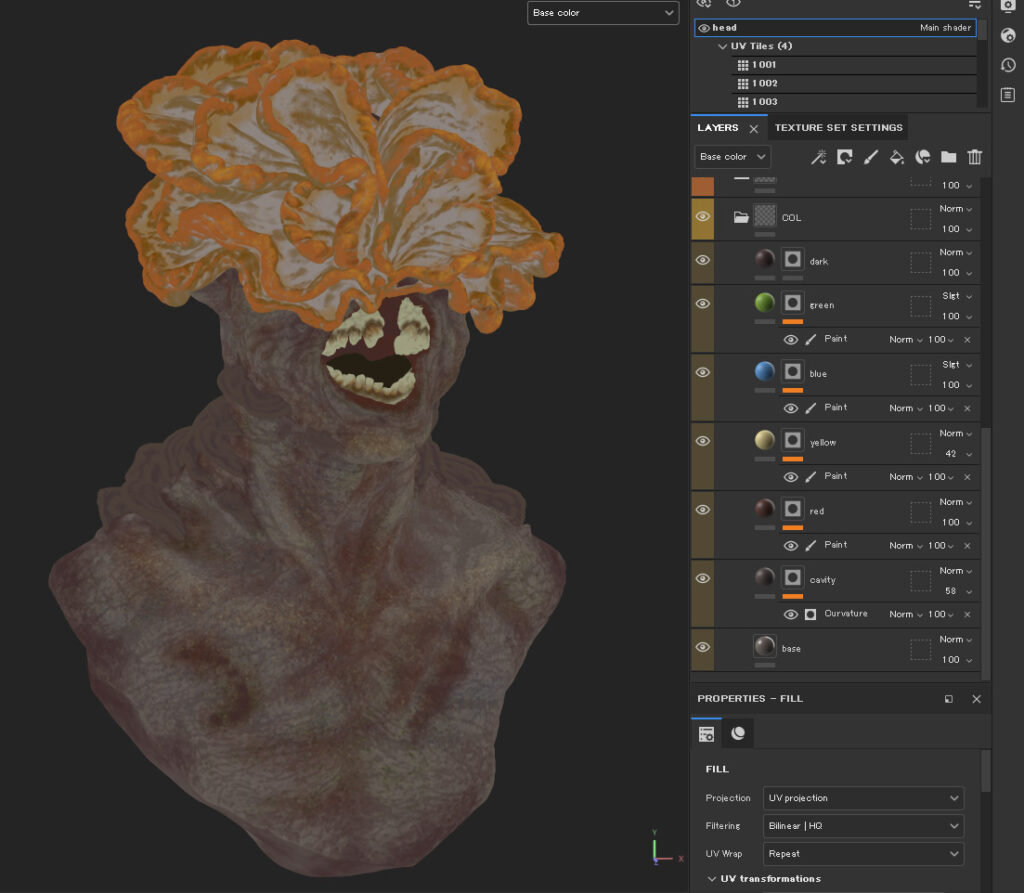
I'm then adding a Fill Layer to each of the Texture Sets, giving it a specific color, usually darker than the base, adding a black mask, a Fill Layer in the Mask and adding a Generator with a Curvature. This adds a lot of variation to the textures.
For the mushroom parts, it was important to do as much as possible procedurally as the geometry is complex and hand painting it all would take ages. The curvature is only working as well as it does because the ZBrush sculpt is detailed.

Recommended FlippedNormals Tutorial
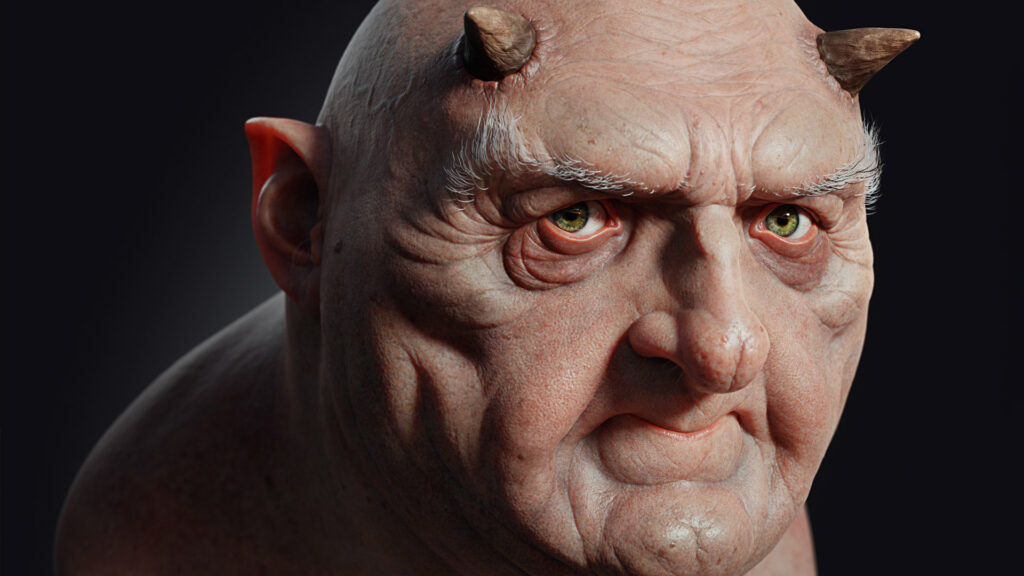
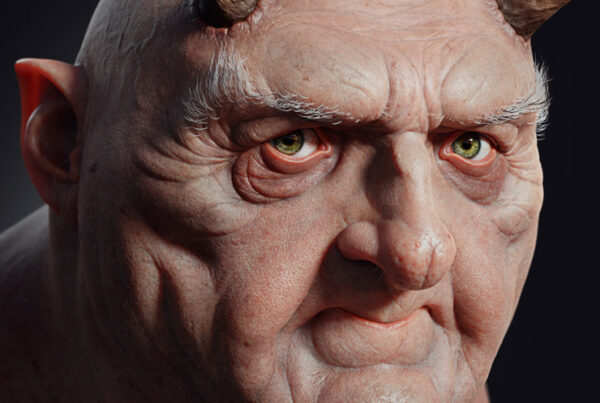
Realistic Character Portrait Masterclass
This masterclass covers how to make this realistic character from scratch, using the same techniques we used for the Clicker. It's fully narrated with over 20 hours of content and everything is shown in realtime, from the first ZBrush stroke to the Substance Painter texturing, to the final Blender hair groom and render.
Add more Fill Layers, this time with saturated colors which I'm introducing all over the model. I start off with a darker red, which I'm adding to bigger cavities, the lips, bitemark and scars, I use yellow where bone is and blue where I want the skin to feel cool and dead.
You don't need a lot of brushes to paint. Dots Erased is my favorite for skin, and Smooth Noisy is amazing for soft and slightly textured gradients.

Add Procedurals
Once your base painting is working, adding procedurals will help to break up the color map. Using marble textures also works really well for skin textures, as they have really organic shapes and colors.
Make sure to always look at your maps in the Material view too, and not only as flat colors.
Adding more color and value variation. Hand painting pimples and blemishes adds a lot belivabliy to the textures. The color map is almost done!
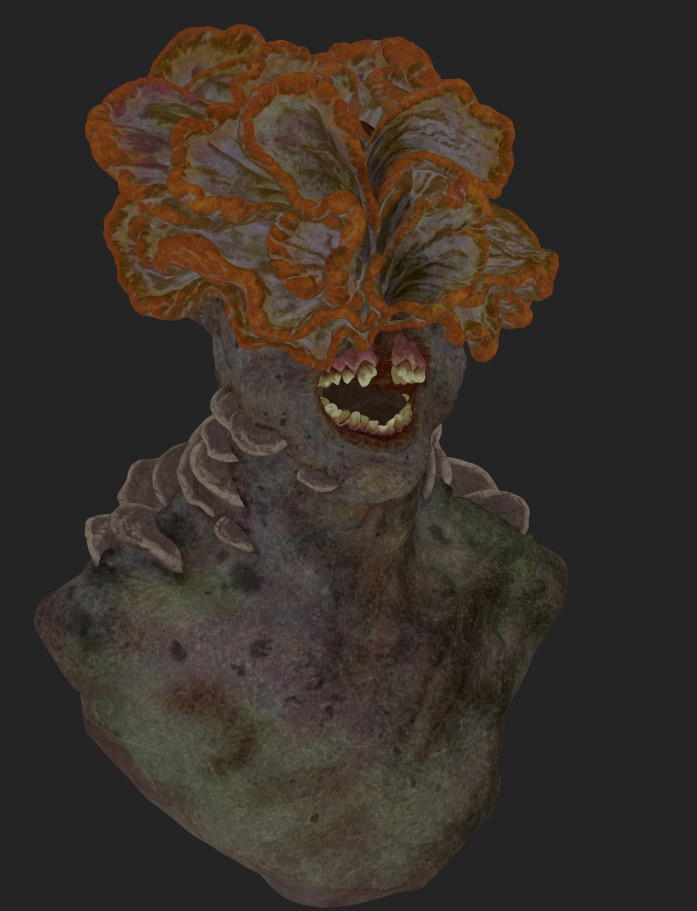
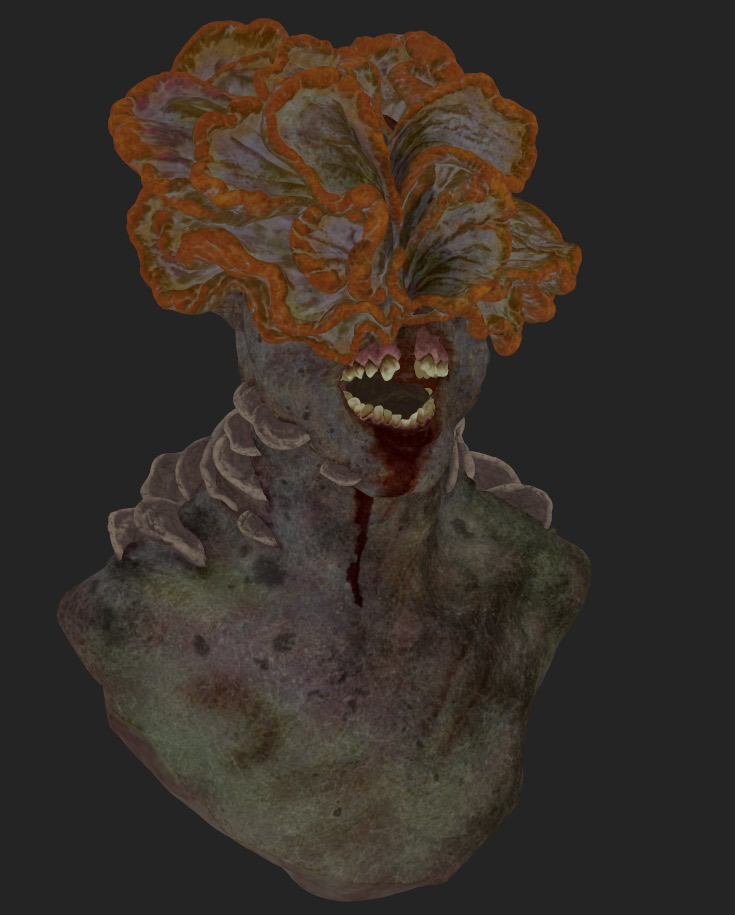
Blood added. This uses Fill Layers, like everything else for the Clicker.
That's it for the color map!
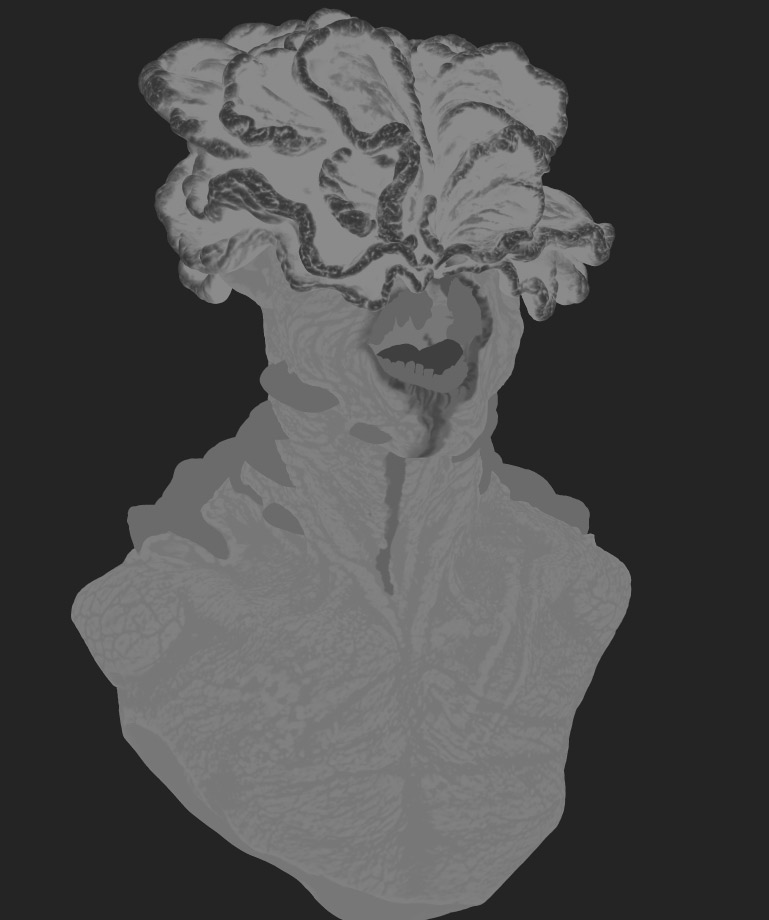
Creating a Simple and Powerful Roughness Map
The roughness map is often over-complicated. If your sculpt and high frequency details are well made, you can usually get away with a simple roughness map, made of simple gradients. I prefer to never start on the roughness map until the pores and other high frequency details are done, as the roughness map changes a lot based on this.
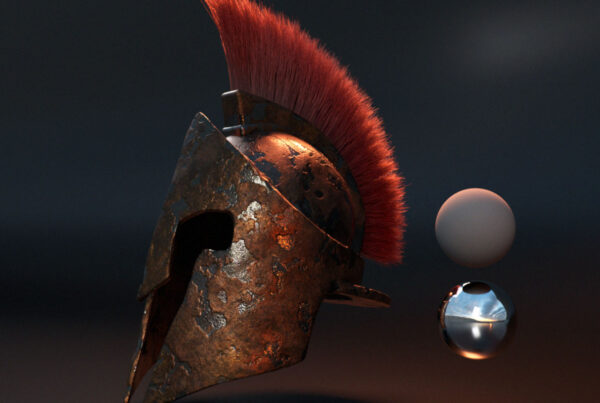
To make a fully working roughness map, you need to see the full asset in shot with a rotating light, ideally a high-contrast HDRI. If you review the roughness from a single angle, it's difficult to get an idea of what's really happening with the reflections.
This roughness map is made almost entirely procedurally using Curvature Generators. This proves the power of a good base ZBrush sculpt to work from.
Texturing and Shading Are Deepy Connected
It's important to do test renders as you're texturing. For the best results, consider shading and texturing to be a single task called Surfacing, instead of individual parts of the pipeline. If you're texturing without seeing the model in shot with all the high frequency details from ZBrush and a proper material, you're flying blind.
Every single test-render gives you additional information, like what part is important and less important to work on, are the maps working or do they need more attention?
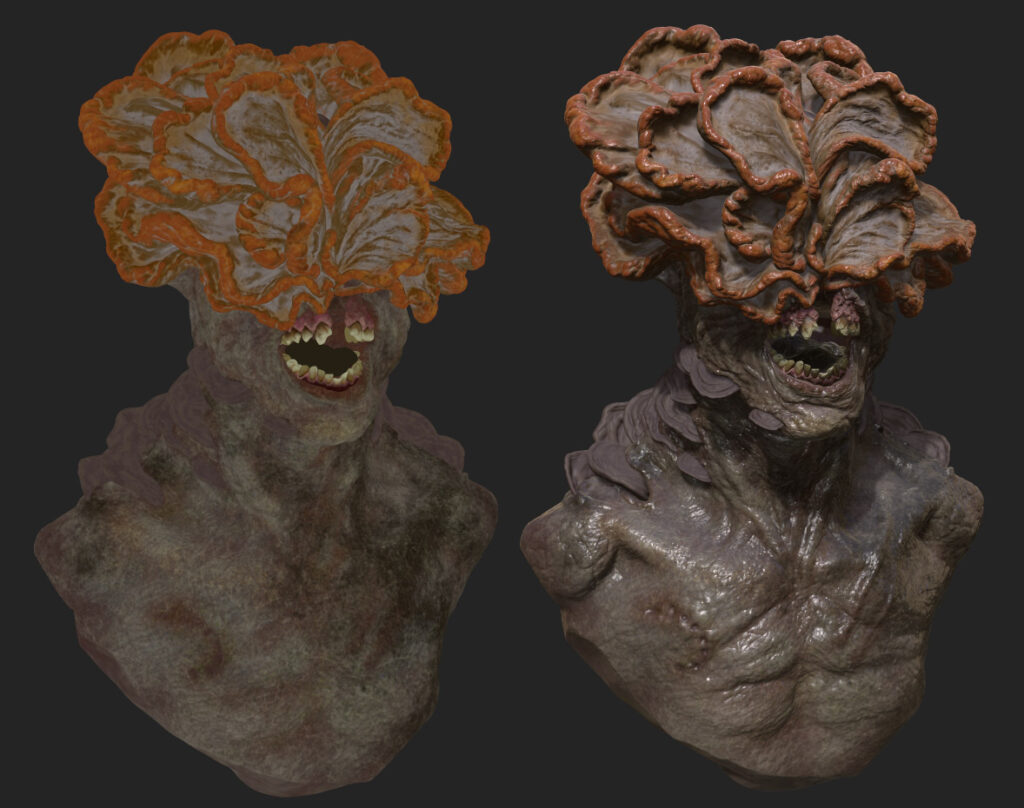
Here's a collection of some of the renders I did while developing the textures and materials for the Clicker.
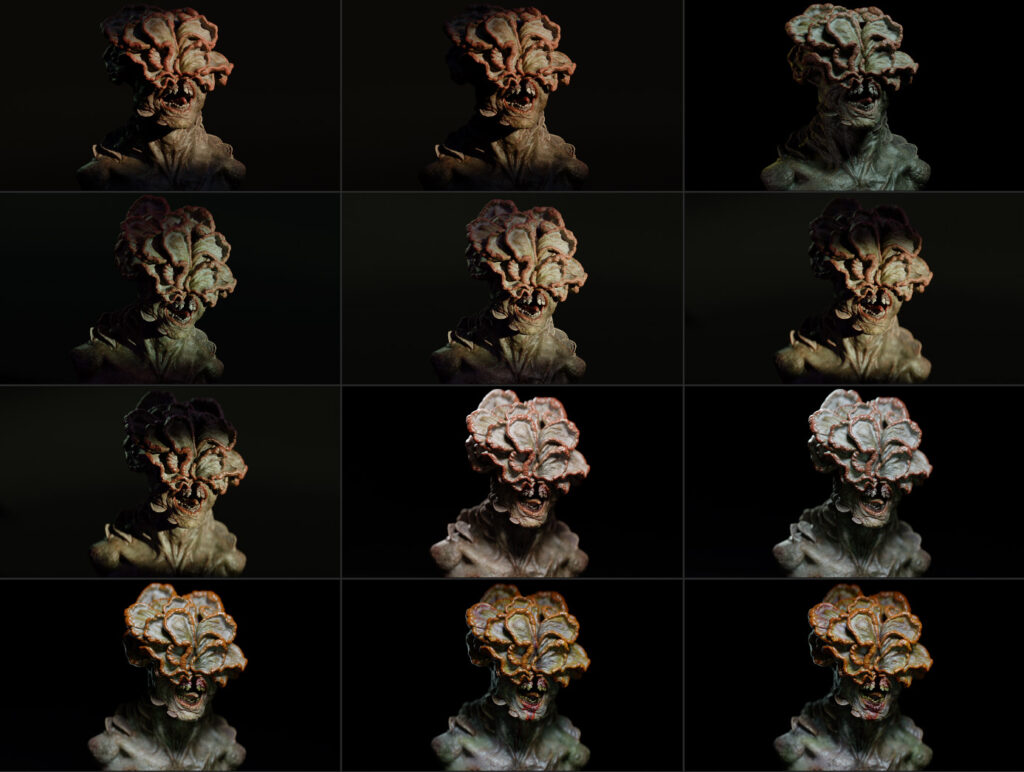
We'll explore how to set up a render scene in Blender in future article, as well as how to shade skin in Blender.
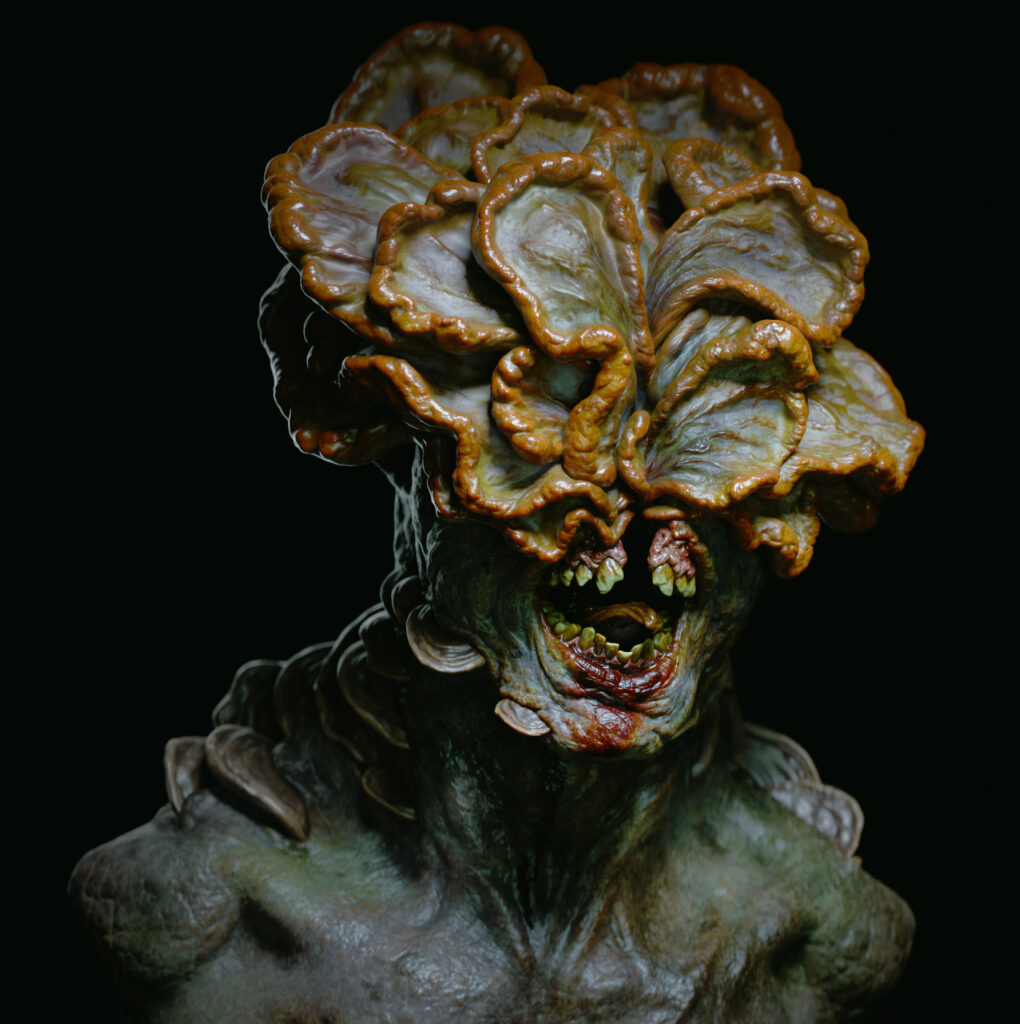
Final Render!
This it the final render of the Clicker. It's rendered in Blender using Cycles, with some color grading in Photoshop.


Fantastic!